
Woodworking instructor in a canvas apron standing at a workbench explaining a joint to the camera

A curriculum built backward from mistakes

Most beginner woodworking content assumes you already know what a stopped dado is, or that you own a jointer. Ours doesn't. We built the lesson order by watching first-timers struggle, then rebuilding the sequence around the actual sticking points: reading a tape measure correctly, keeping a cut square, and knowing which clamp to reach for.

Every lesson gets filmed at least twice. Once to build the piece properly, and once to slow down and re-explain the part that trips people up. That second pass is usually the one that ends up in the final video.

None of this replaces a formal carpentry apprenticeship or a certification program, and we're upfront about that. What it does is give someone with zero background enough grounding to build something sturdy, safe, and genuinely theirs.
Every joint you cut teaches you something a book never could.

How lessons are structured

Small wins, in a deliberate order

The program is organized in stages rather than a single long course, so progress feels visible instead of distant.

01

Orientation & Safety

Tool identification, safe setup, PPE basics, and how to keep a workspace from turning into a hazard. This stage has no cutting at all, on purpose.

02

Measuring & Marking

Reading a tape measure, using a combination square, and marking wood so the cut actually lands where you intended it to.

03

First Joinery Project

A simple shelf or box using butt joints and pocket screws. The goal here is confidence, not complexity.

04

Finishing & Care

Sanding progressions, applying oil or stain, and understanding what actually protects a finished piece over time.

05

Independent Projects

Applying the fundamentals to a project of your choosing, with lesson support and, in the group format, live feedback.

What you'll actually need

A modest toolkit, nothing exotic

Lessons are designed around a small, affordable tool set rather than a fully outfitted shop. A tape measure, a square, a hand saw or basic circular saw, a drill, clamps, and sandpaper cover most of the first stage. Later lessons introduce a jigsaw and a router for specific projects, always with a lower-cost alternative path explained alongside them.

We describe tool options rather than pushing a specific brand. What matters more than the label on the tool is understanding how to use it correctly and safely, which is the part video lessons are actually good at teaching.

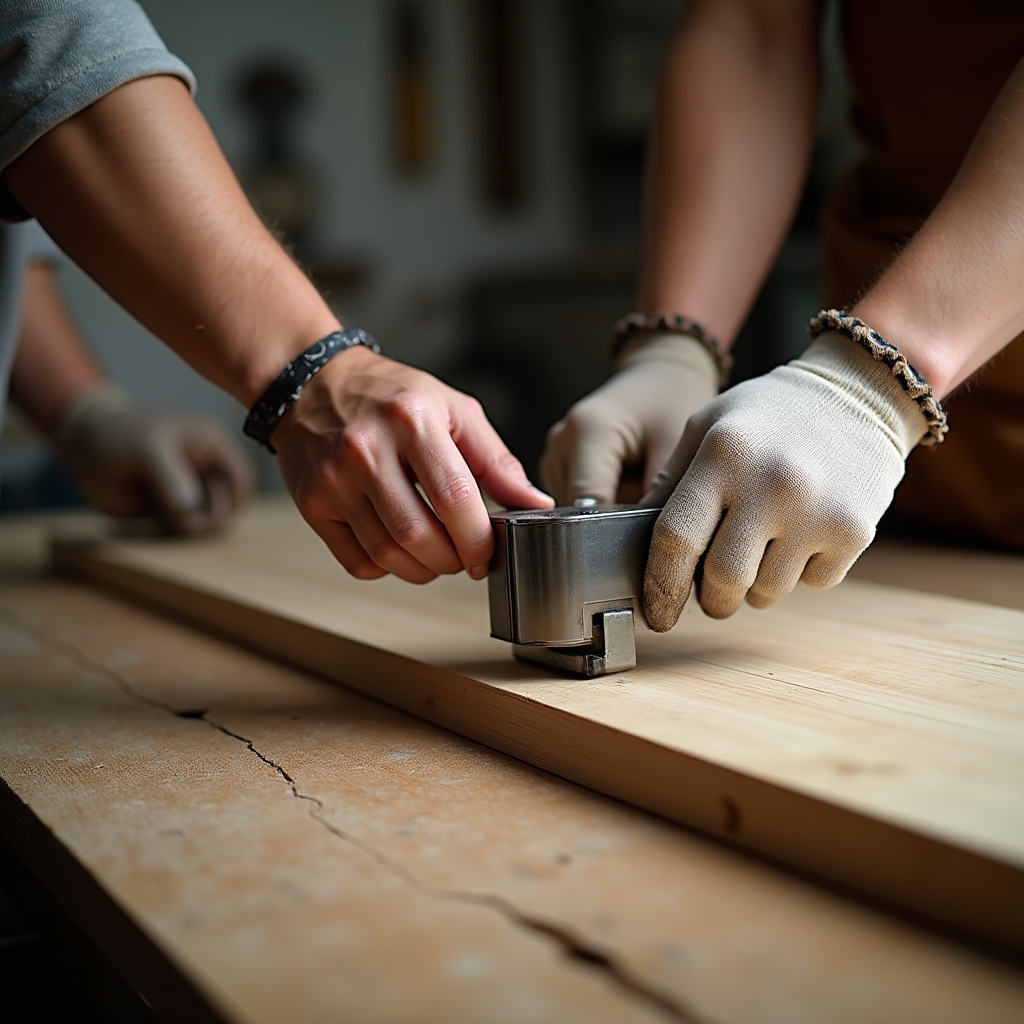
Close-up of hands wearing safety glasses adjusting a clamp on a wooden board before cutting

Curious how sessions run

See what a group session actually looks like

If you learn better with a live person answering questions, the group session format walks through the same fundamentals with scheduled meetings and project feedback.

View Group Sessions

Prefer email first? Write to [email protected].